Since moving my giant sweet tooth to New York, I gained exclusive, 24-hour access to loads of highly-rated treats all over the city. I have been known to seek out standard, long line places as well as the hole-in-the-wall bakeries in search of new baked goods, one of my favorites being cream puffs. Even though perfectly crafted cream puffs are multiplying all around me at an alarming rate, I decided it was my turn to get my hands flour-y and learn a new skill. As it happened, Sur la Table had a class on sale and since I’m no stranger to their Manhattan store, I signed up for a Sunday morning class and set my alarm to an unflattering weekend time.
When I arrived at the store, I planted my purse in the empty chair closest to the complimentary Nespresso machine and got to work perking myself up while donning my thin, white apron and washing my hands in preparation for French Pastry Secrets. With a cap of 16 students, four teams of four (or less, depending on attendance) disperse among the cooking stations and get to work. My teammates were two friendly women who had also chose to enthusiastically bake creamy, French treats on a rainy Sunday morning.
After taking turns violently whisking the pastry cream to prevent lumps, we started making the dough and learned lessons that you can only glean from hands-on preparation (or, trial and error, if you’re a glutton). For example, you simply can’t trust the pate a choux dough. When it starts to come together post-stovetop with the help of a churning KitchenAid mixer, the humidity in the air (or any number of variables) can cause the dough to be temperamental. The recipe calls for four eggs to be incorporated into the dough, but on a good day it could only be three. That particular rainy Sunday, we ended up using all three of our eggs and around ½ of another egg, beaten. You have to watch the dough carefully after each incorporation so it creates a soft, gummy paste instead of an eggy ball or a crumbled, dry mess.
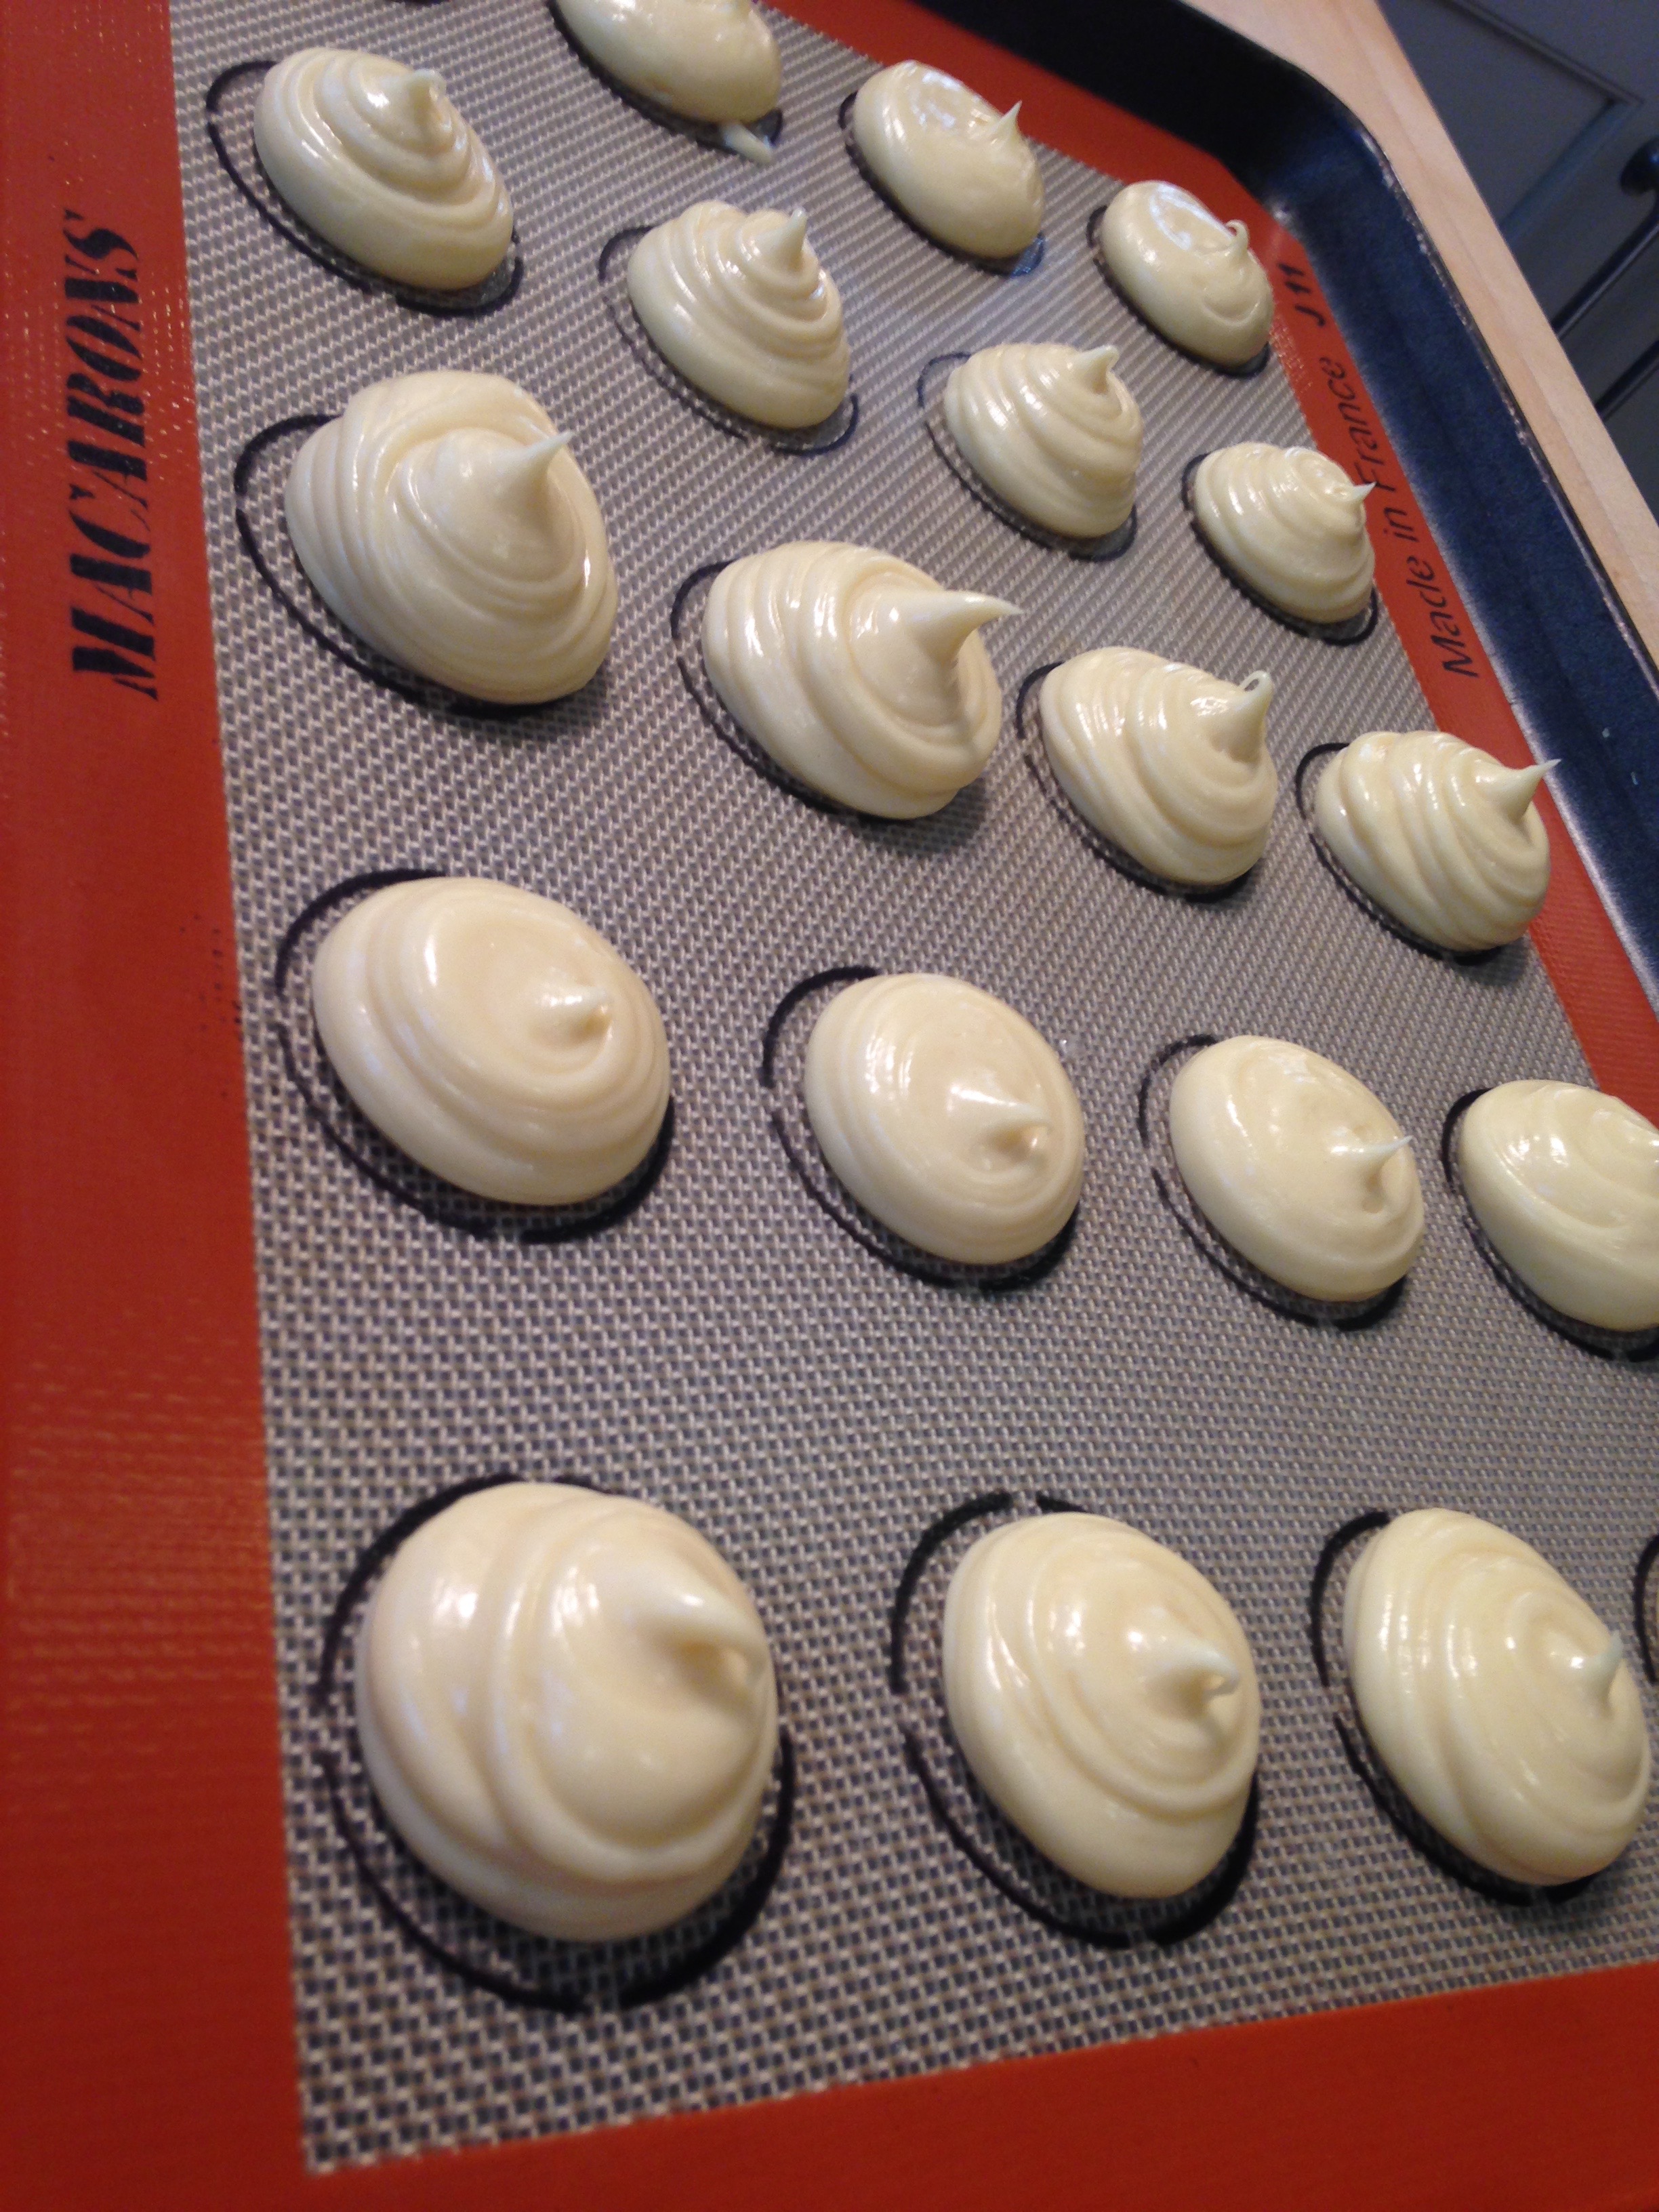
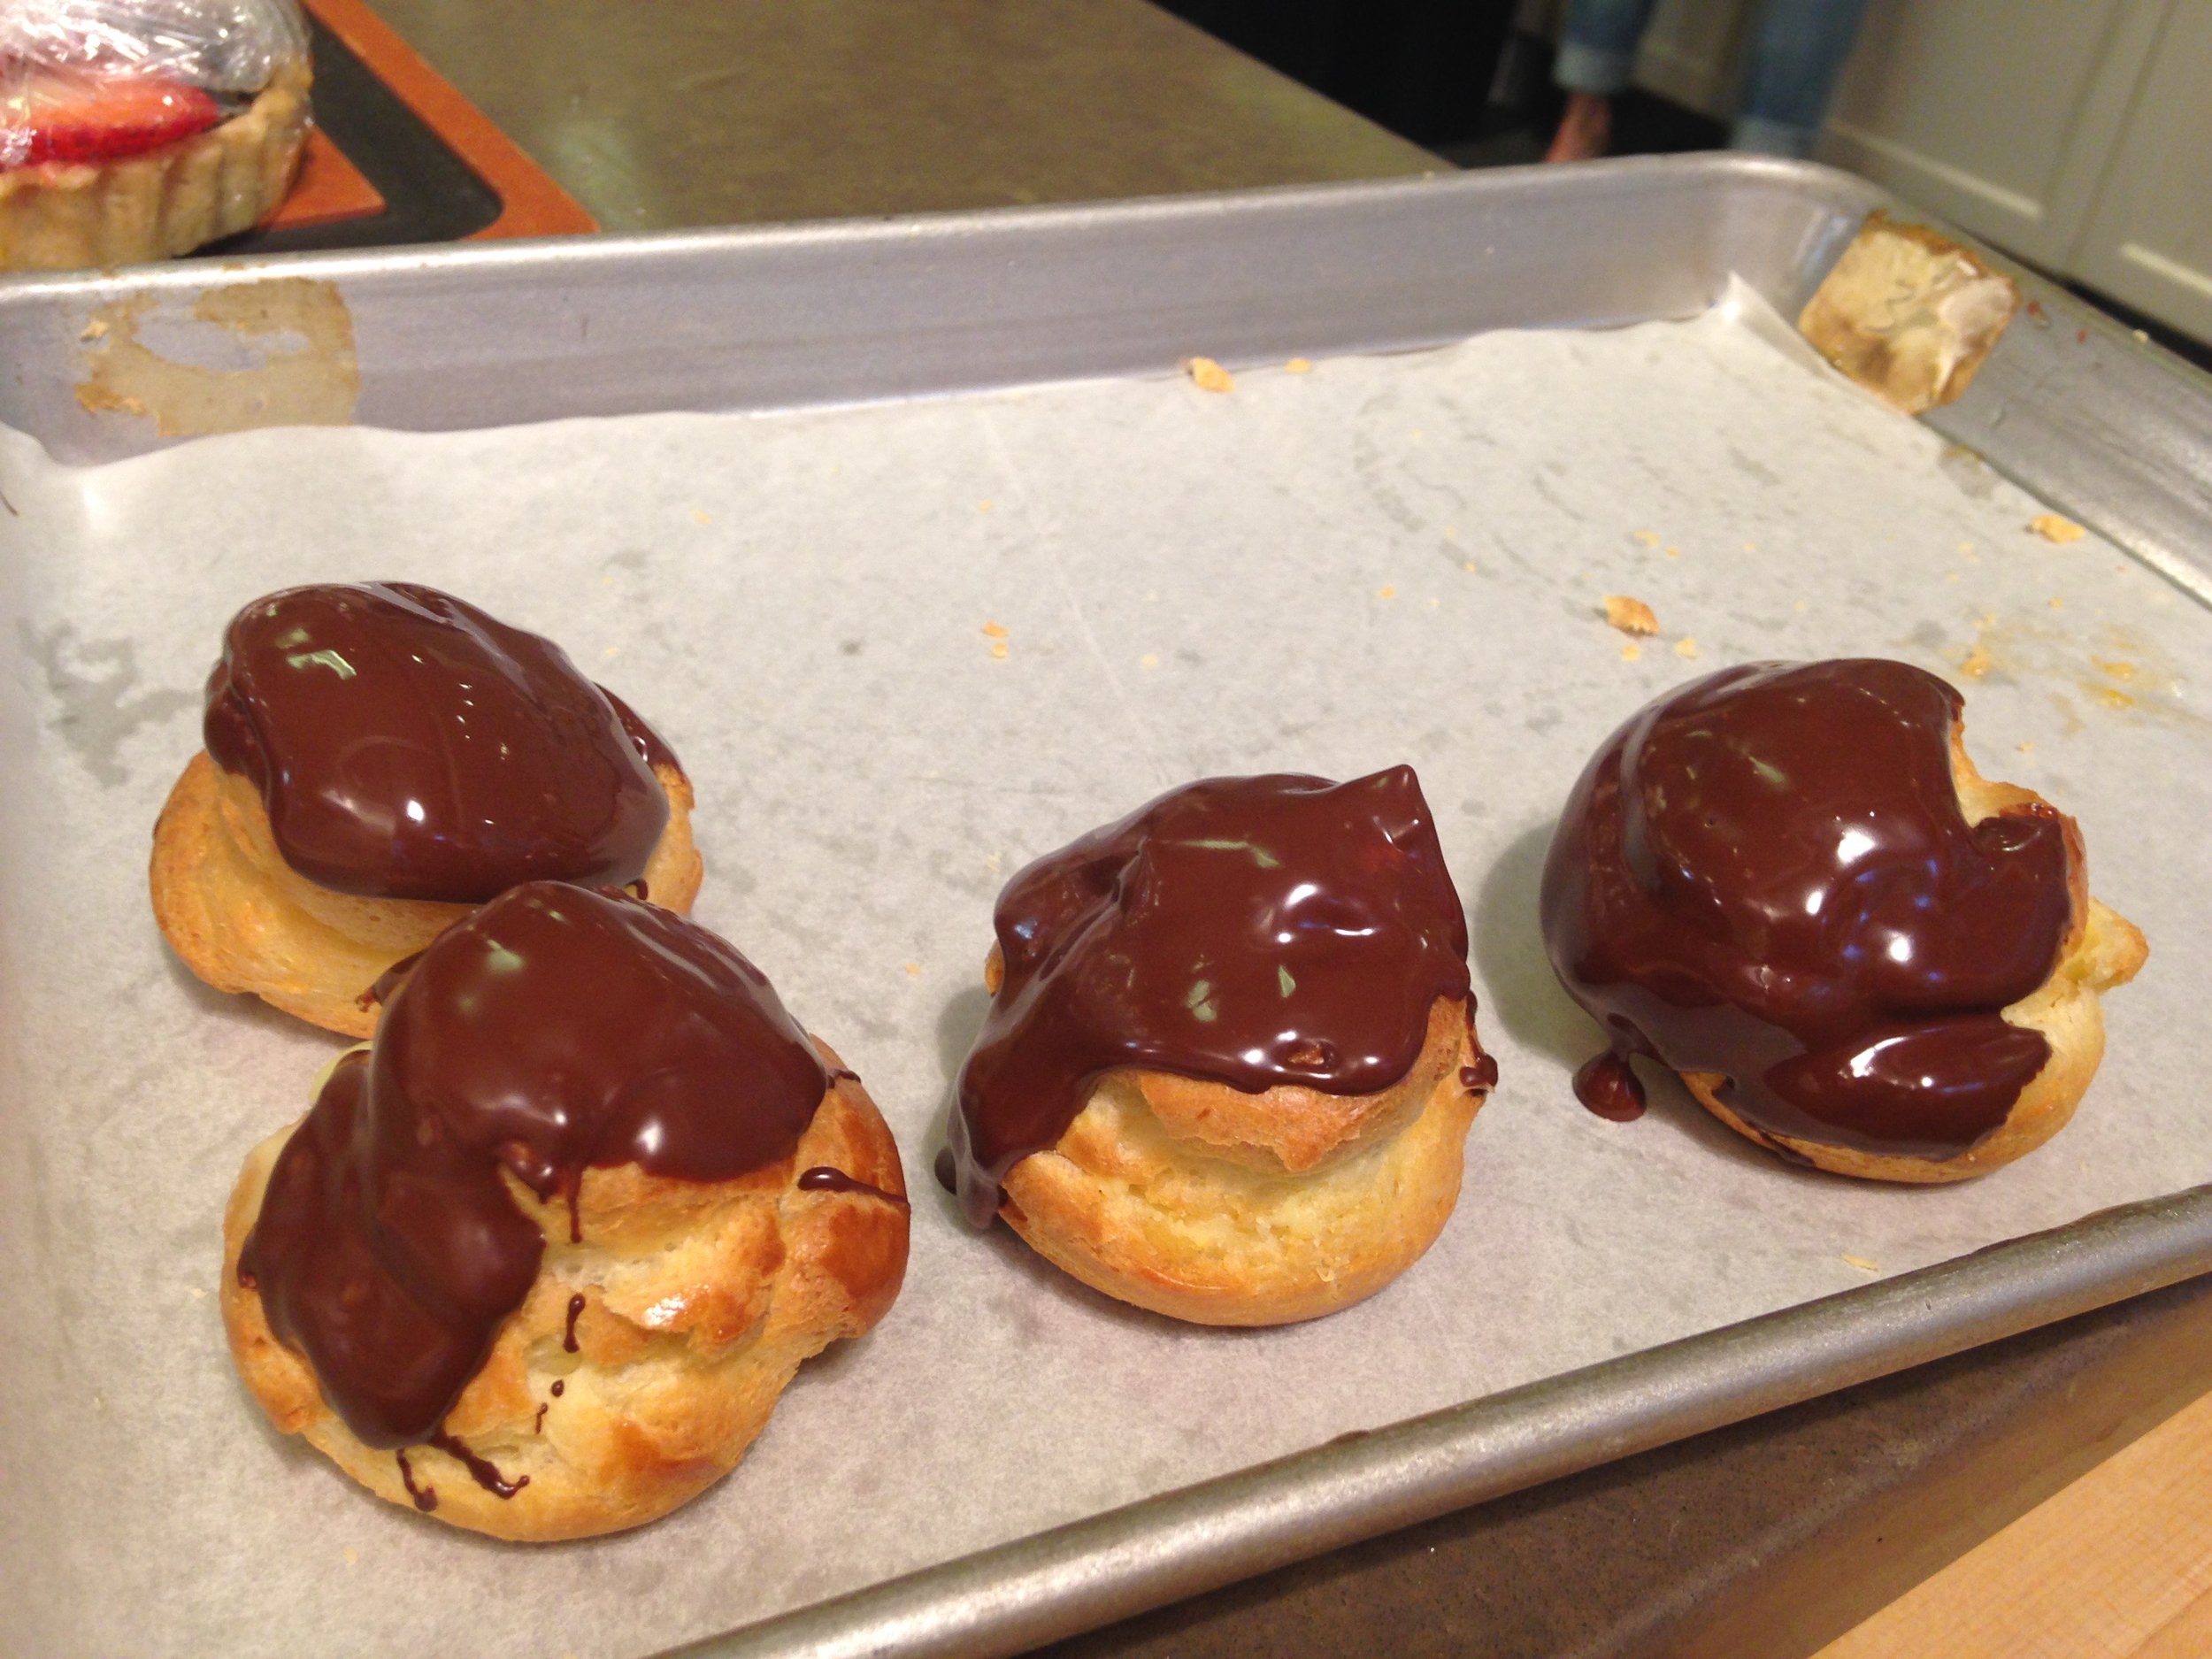
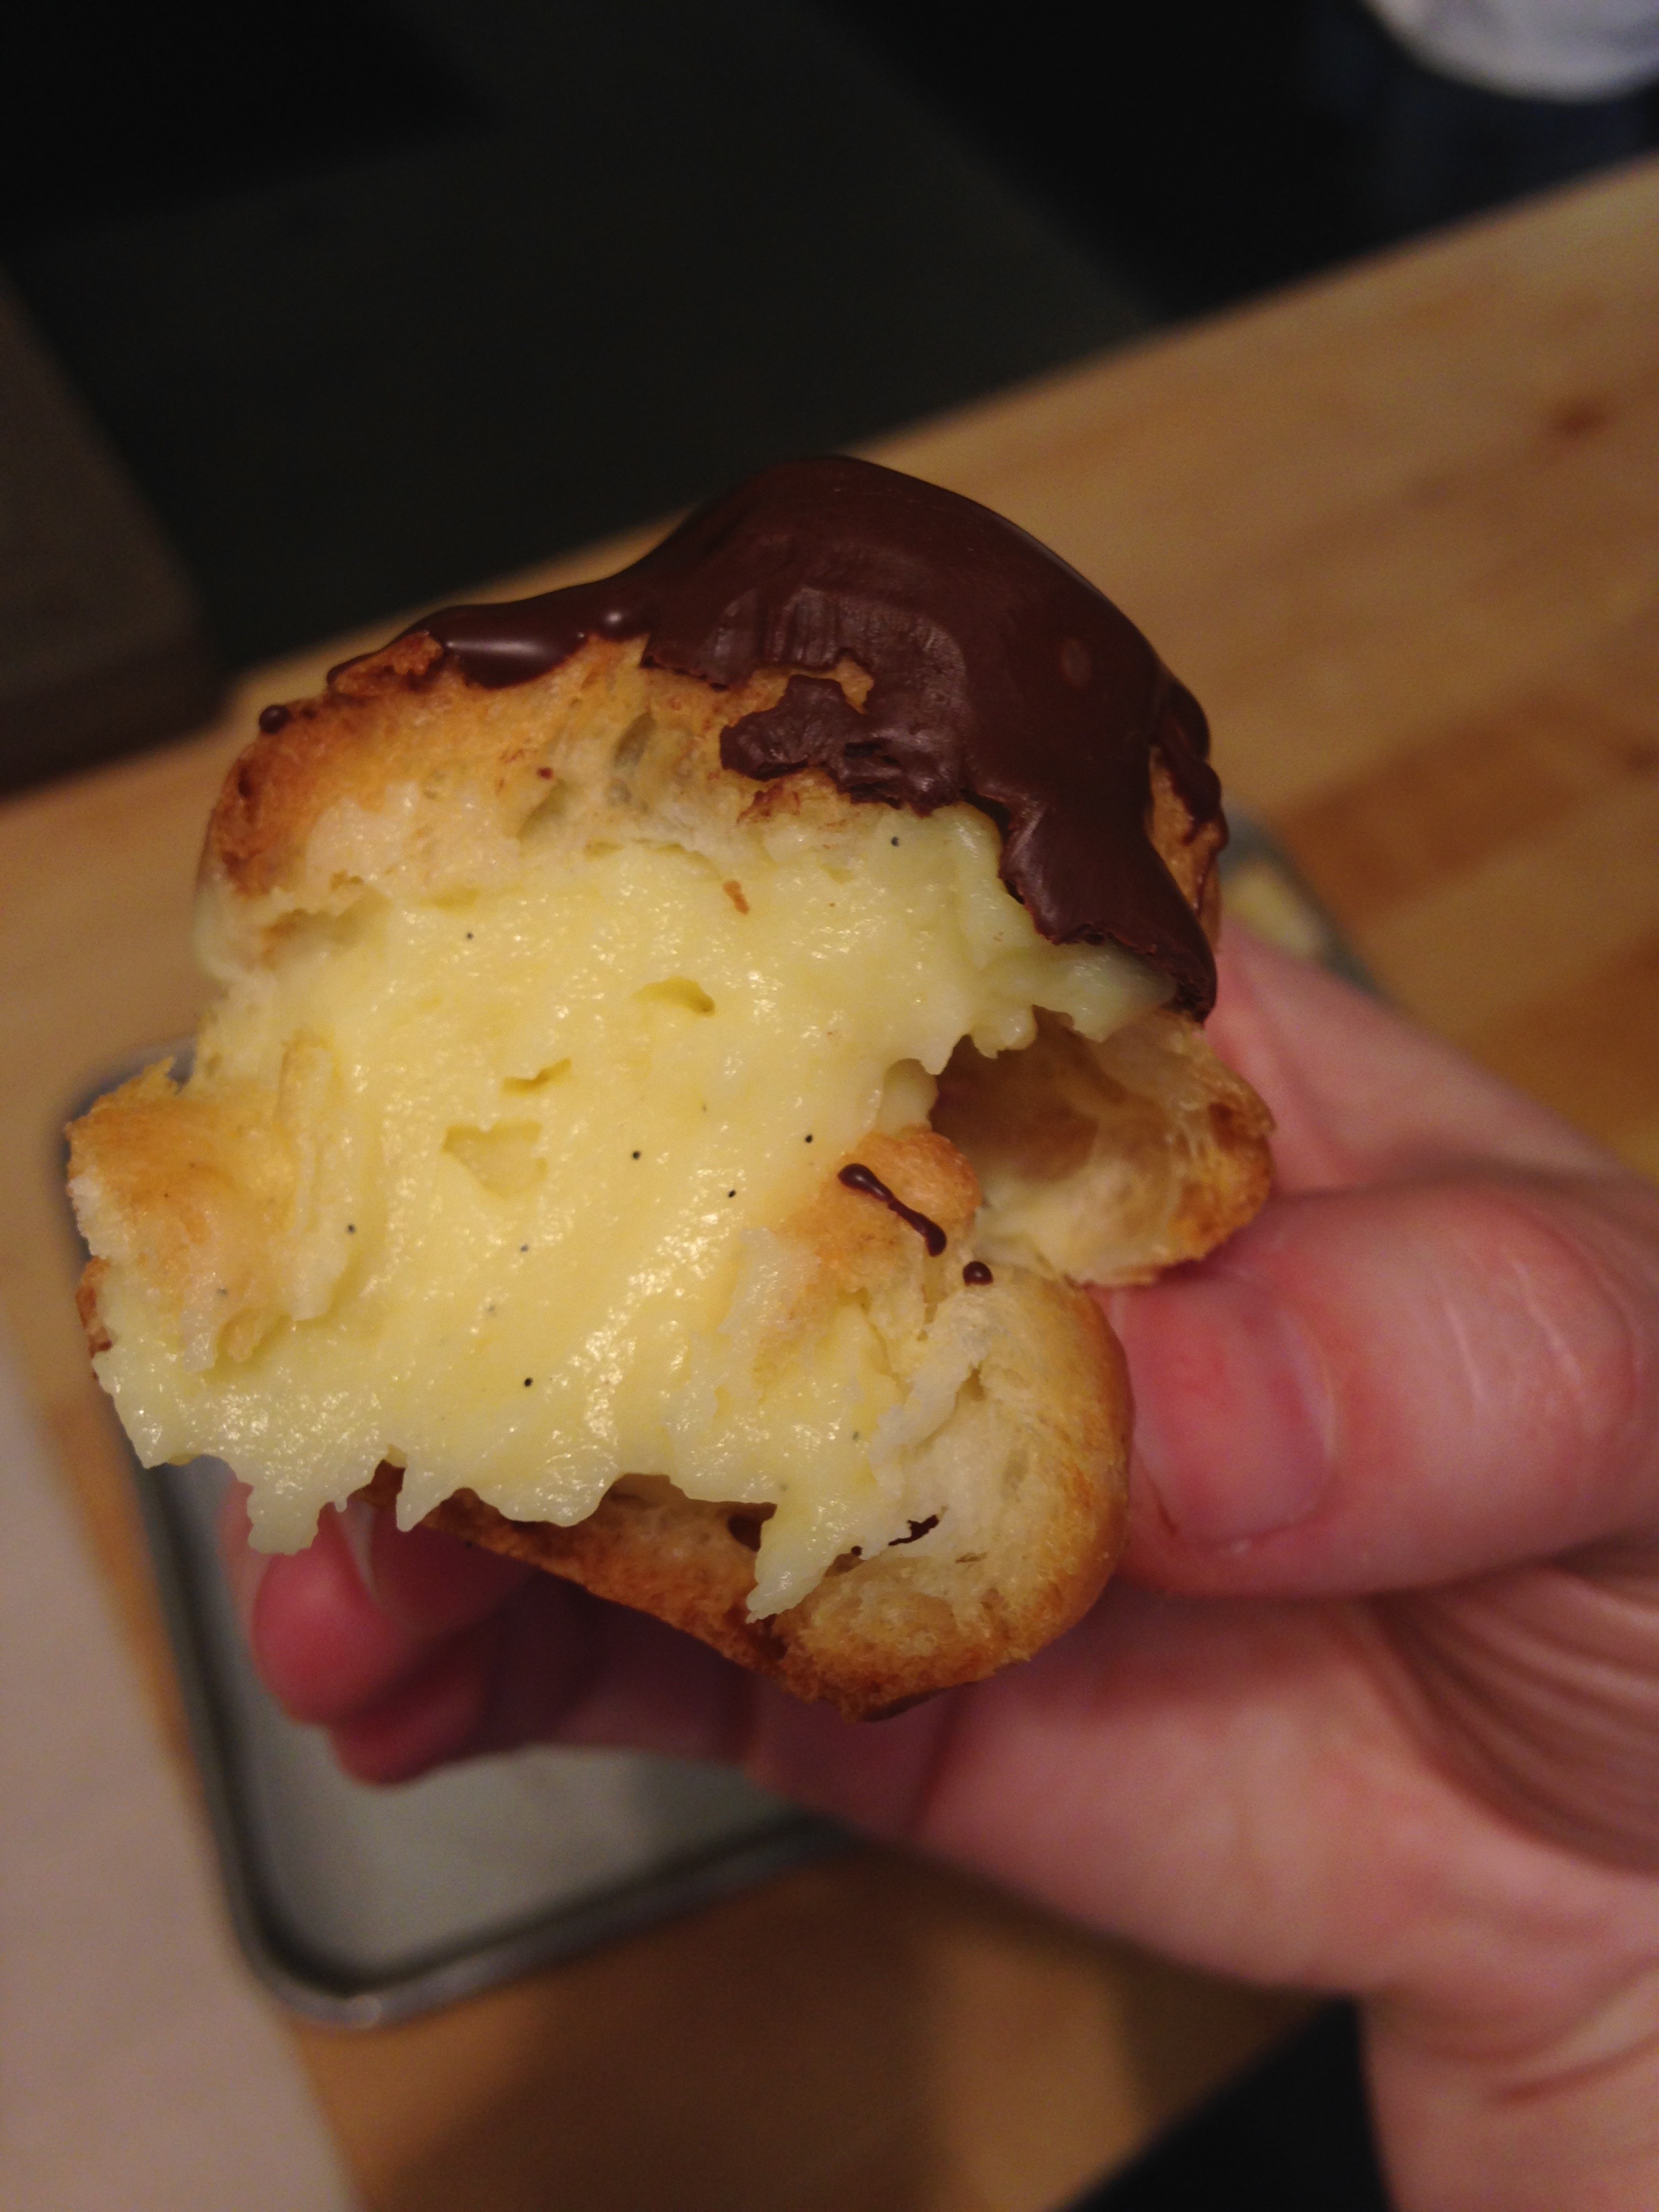
Once the egg debacle was over, we stuffed a pastry bag with the cooled, dough and piped it into little Hershey Kiss-esque mounds on our silicone mat with the pre-mapped circles so they wouldn’t bake into each other. Another tip we learned while piping was not to move our hands in a circular motion in order to fill the round template. Instead, squeeze from the top of the dough cone with your dominant hand and with the other, hold the tip steady over the middle of each template so you create little rounds that will puff up uniformly in the oven. While we didn’t get to stick our creations into the oven (for safety reasons) nor did we get to watch them rise magically like tiny mushroom clouds, once our team glimpsed the near-perfect golden brown dough florets pulled out of our oven, we beamed with pride and drooled with hunger (at least I did). We made chocolate truffles and decorated fruit tarts while waiting for the stars of the class to cool. Once we were able, we piped chilled vanilla cream into each hollow dough cavern and I utilized leftover truffle chocolate ganache to dip mine in as a finishing touch. The timid, perhaps pastry- skeptics of the class were oohing and ahhing with the rest of us at our group creations and no one went home hungry.
Even though the process may seem daunting, just a little patience and experimentation go a long way. Cream puffs were much easier and relatively quicker to make than I could have imagined when conjuring images of diligent French chefs in stark whites huddled in hot kitchen nooks with flour caked onto their faces.
Cream Puffs
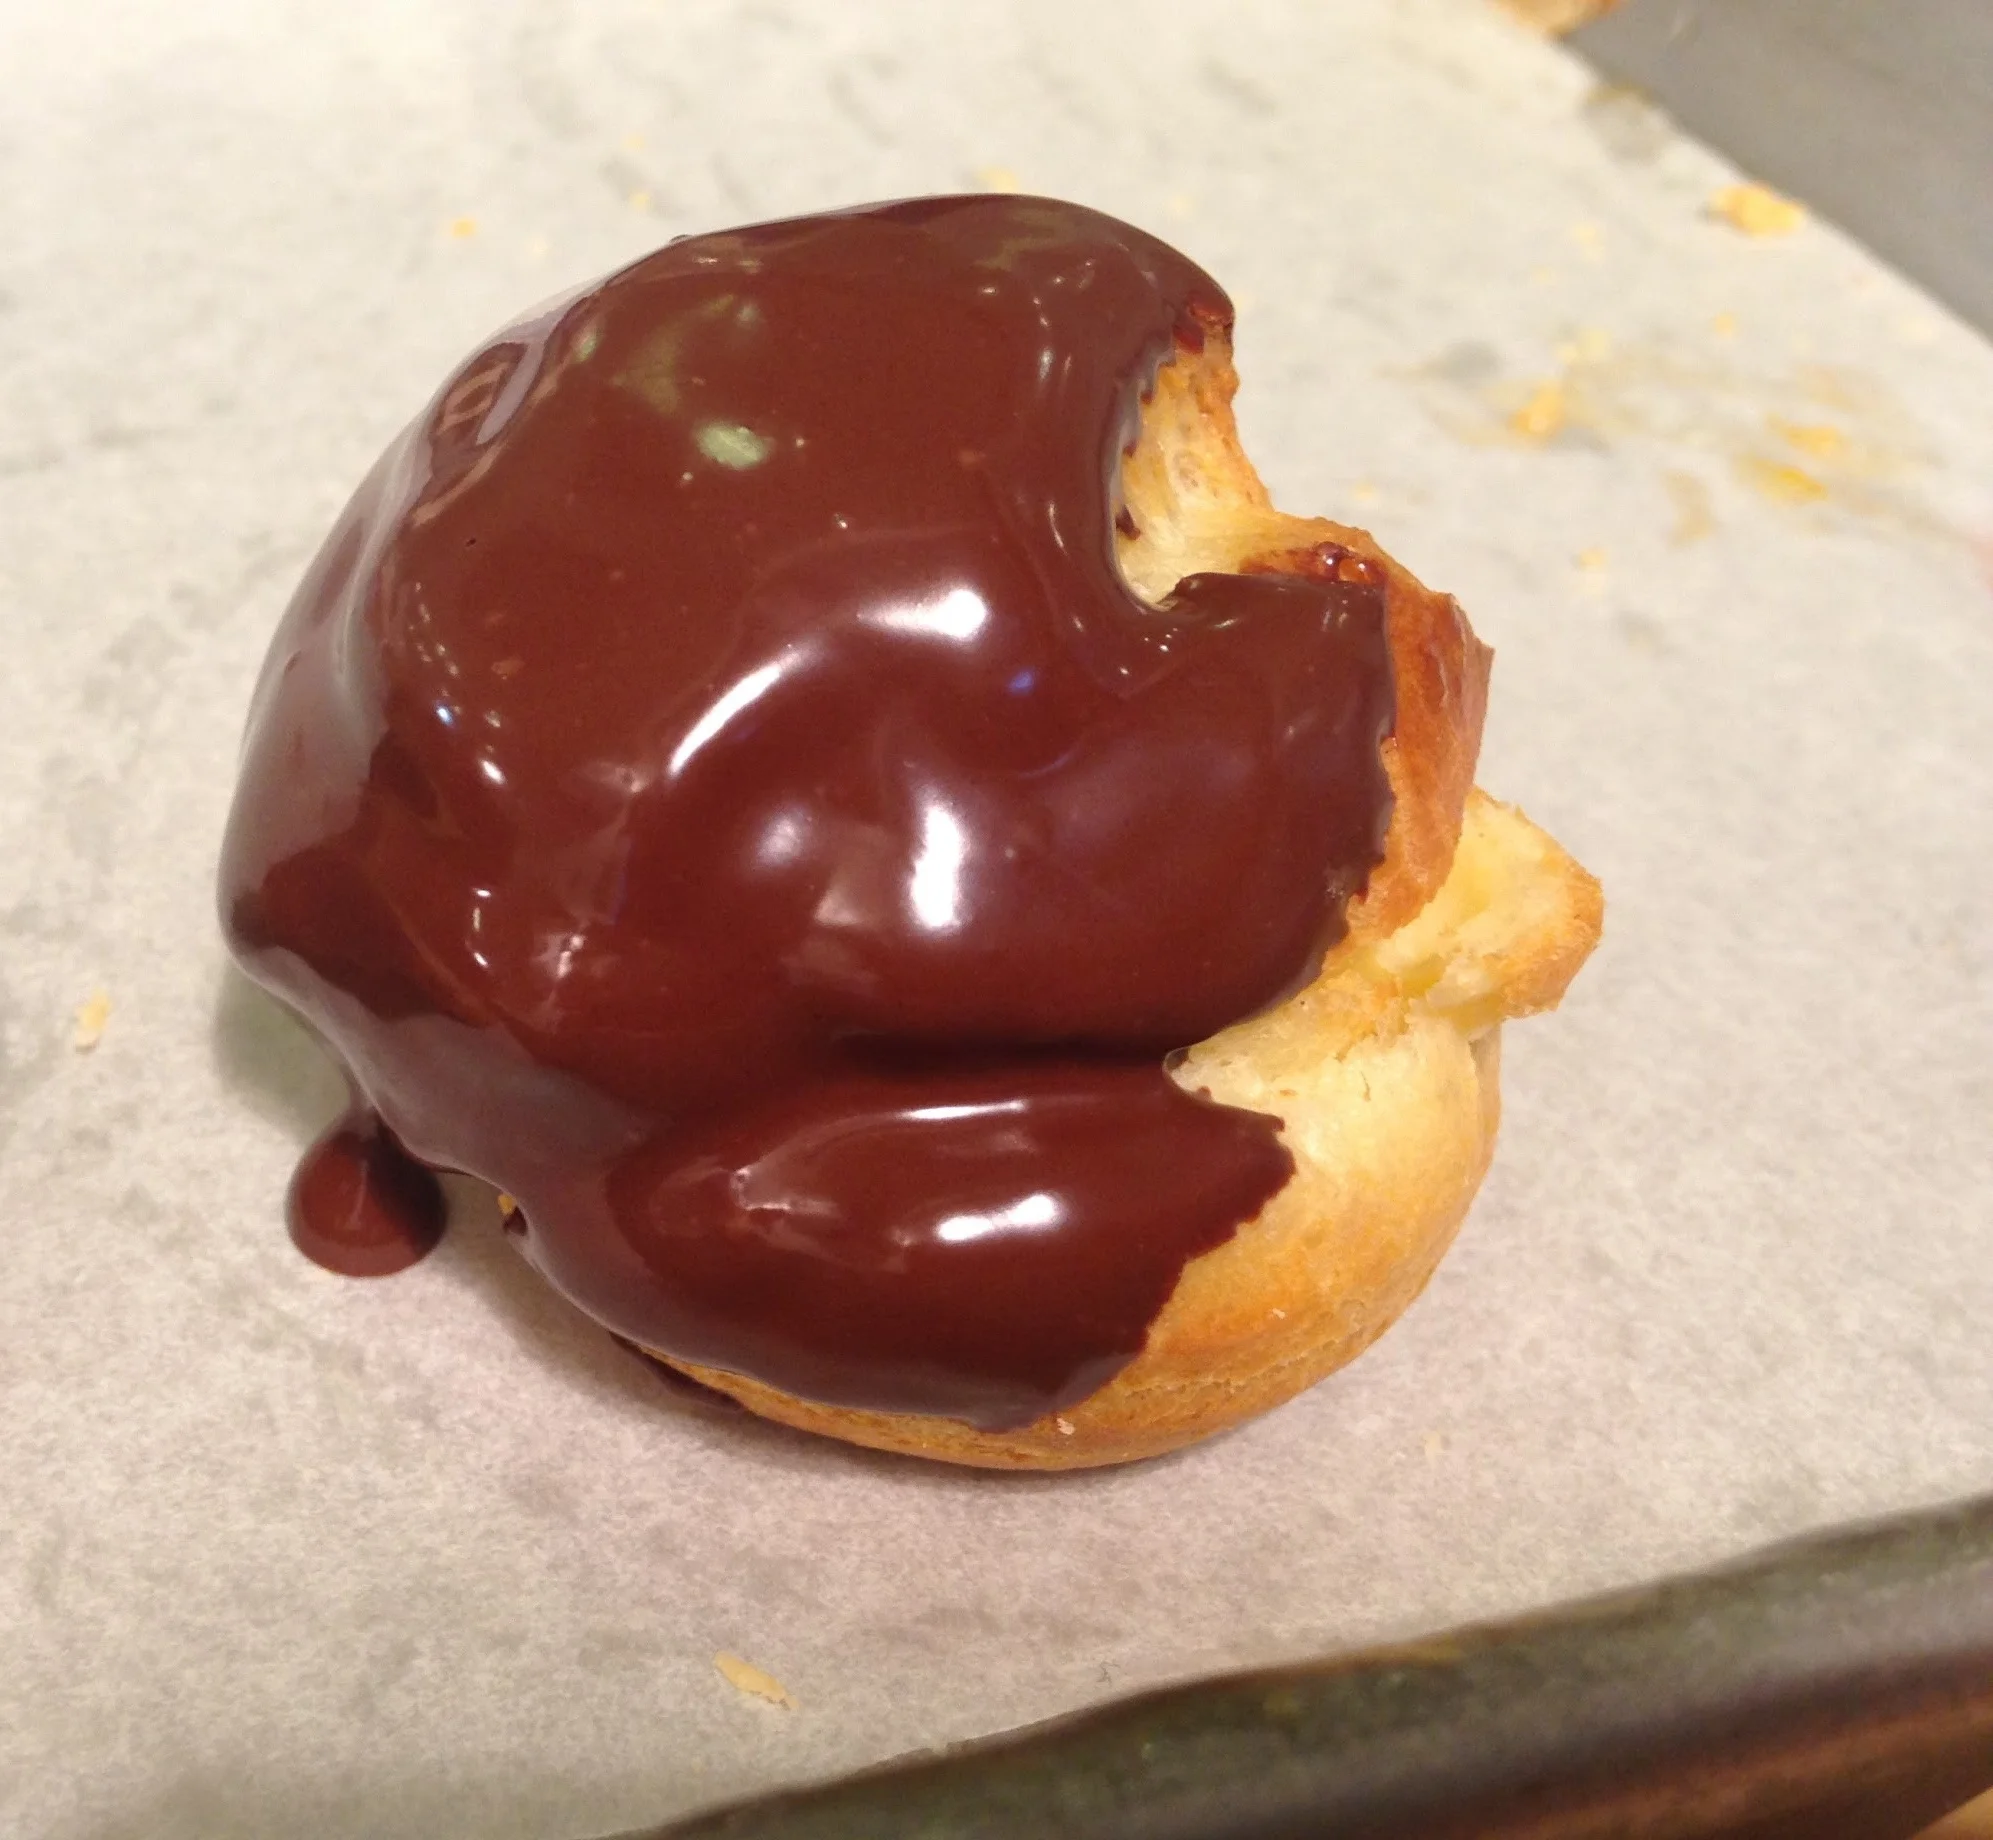
I chose to dip my filled puffs in leftover chocolate ganache from a truffle recipe, but feel free to leave them plain or dust with powdered sugar, cocoa powder, chai powder, or simply top with whipped cream. You can also use these shells as profiteroles, just fill them with ice cream and serve immediately.
Vanilla Bean Pastry Cream
Yield: About 2 cups
1 ½ c whole milk
1 T vanilla bean paste
1 large egg
3 large egg yolks
½ t sea salt
⅓ c granulated sugar
¼ c cornstarch
2 T cold, unsalted butter
Fill a large bowl halfway with ice and water and set it aside. Pour the milk into a medium saucepan. Heat the milk to a simmer and remove from the heat.
In a medium bowl, whisk together vanilla bean paste, egg, egg yolks, salt, and sugar until well combined. Add cornstarch and whisk vigorously until the mixture is very smooth. Pour about ½ c of the hot milk into the egg mixture, whisking constantly to temper the eggs. Slowly pour the egg mixture back into the hot milk, whisking consistently.
Heat the mixture, whisking constantly to prevent the cornstarch from lumping, until it reaches a boil, whisk for another minute, until the pastry cream is very thick. Remove from the heat and whisk in the butter.
(Optional) Strain pastry cream through a fine-mesh strainger set over a medium bowl to remove any lumps or tiny bits of egg.
Press a piece of plastic wrap directly on the surface of the pastry cream, then set the bowl into the bowl of ice water. Once the pastry cream has completely cooled, use or store in refrigerator until needed.
Pate a Choux Dough
Yield: 20 (2 ½ inch) puffs
This versatile dough is perfect for entertaining, since pate a choux pastries can be made in advance, frozen and then re-crisped the day you wish to serve them. Even if you’re intimidated by other pastry-making, pate a choux is quick, easy, and low stress. It used to require strenuous beating by hand to blend the eggs into the doubh, but now it’s simple -- the stand mixer does all the work. The dough can be kept in the refrigerator in an airtight container for up to 3 days.
1 stick (4 oz.) unsalted butter, cut into ½-inch thick pieces
1c (8 oz.) water
¼ t sea salt
1 c (5 oz.) unbleached all-purpose flour
5 large eggs (About 4 used in recipe, 1 used in egg wash)
1 recipe Vanilla Bean Pastry Cream, well chilled (see above)
Powdered sugar, for dusting
Place the butter, water, and salt in a medium saucepan over low heat. Cook, stirring from time to time with a wooden spoon, so the butter melts evenly. When the butter has melted, increase the heat and bring to a boil. Remove the pan from the heat and add the flour all at once. Beat vigorously with wooden spoon until the dough comes together in a mass around the spoon. Place the pan back over medium heat and continue to cook, beating, for another minute or so to dry out the dough -- the pan will have a thin film of dough on the bottom.
Immediately transfer the dough to the bowl of a stand mixer. Beat on medium speed for 1 minute to slightly cool the dough and develop the gluten. With the mixer on medium speed, add the eggs one at a time, allowing each addition to blend completely into the dough before continuing. When the eggs are incorporated, the mixture should be shiny and elastic and stick to the side of the bowl. It should also pass the “string test”: Place a bit of dough between your thumb and forefinger and pull them apart. The dough should form a stretchy string about 1 ½ to 2-inches long. If the dough has not reached this stage, beat an egg and continue adding a bit of liquid egg mixture a little at a time, until the dough is finished.
Preheat oven to 400 F., and position two racks in the top and lower thirds of the oven. To make a template for the puffs on parchment, line one or two baking sheets with parchment first. Then remove the paper and use a biscuit cutter or another 2 ½ inch circular template as a guide and draw twenty (20) 2 ½ inch circles on each sheet of parchment, spacing them out evenly. Turn the pieces of parchment over on the pans so the marks show through but are facing down so you don’t pipe dough onto the markings.
Spoon dough into a pastry bag fitted with a ½ inch plain tip. Pipe the dough into ½ to ¾-inch-high circles to fill each template. Squeeze from the top of the pastry bag “cone” and try not to move the tip from the center of each circle; let the pressure of your hand fill up the template from the middle. Pipe all 20 rounds of dough and set aside.
In a small mixing bowl, lightly beat an egg to blend thoroughly. Brush a light coating of egg wash over the tops of the piped dough with a pastry brush, behing careful not to drip it down the sides (otherwise it will glue the puffs to the paper). You will not use all of the egg wash. Bake your puffs for 20 minutes, then reduce the oven temperature to 350 F, switch the sheets (if you have more than one) between the racks, rotate the pans from front to back, and bake for 20 minutes longer. Reduce the temperature again to 300 F, and bake 10 to 15 minutes longer (to dry out the interior). The cream puffs should be a deep golden brown, with no bubbling moisture visible around the sides. Transfer to a rack to cool completely.
Transfer pastry cream to a pastry bag fitted with a ½-inch tip.
To assemble puffs: Use a serrated knife to slice each puff in half across its equator, horizontally. You can leave the tops partially on at this point like hinged lids, or cut them off completely, just replace the tops after you’ve piped the cream. Pipe the cream into the bottom of each cream puff until the cream is about 1 ½ inches high, or until desired amount of cream is in each puff, if you’ve completely removed the tops, replace them now and dust with powdered sugar, or an alternative. If you are dipping your puffs in chocolate or other, do that just prior to serving.
Serve immediately.